
More golf cart owners around Hernando and Pasco counties are trading their lead-acid packs for lithium. The appeal is easy to see: no more watering, far less weight, and steady power right up to the end of a charge. But a lithium conversion is more than pulling out six or eight batteries and dropping in one new one. Done properly, it involves checking the cart, choosing the right pack, mounting it securely, and making sure the charger and gauges work with the new chemistry.
Here is what the process looks like, step by step, so you know what to expect.
Step 1: Understand how the cart is used
The first step is a conversation, not a wrench. The right pack depends on how you use the cart:
- How far do you usually drive on a charge?
- Is the cart on flat neighborhood streets or hilly terrain?
- Is it lifted, with larger tires?
- How many passengers do you typically carry?
- Do you run accessories like lights, a sound system or fans?
- How often does the cart sit unused for weeks at a time?
These answers shape the capacity the pack needs. A cart that runs short trips around a community has different needs than one that runs all day on a large property. Our article on whether lithium is right for your golf cart walks through these questions.
Step 2: Identify the cart and its system voltage
Next, the cart’s make, model, year and system voltage are confirmed. Common carts are 36 or 48 volts, and some newer ones are higher. The brand matters too. Club Car, E-Z-GO, Yamaha, ICON, Evolution and Advanced EV carts all have their own battery compartments, controllers and charging ports. If you are not sure what you have, our 36V vs. 48V golf carts guide explains how to tell.
Step 3: Test the cart, not just the batteries
Before converting, a good technician checks that the rest of the cart is healthy. Lithium will not fix a failing motor, a worn solenoid, corroded main cables or a controller fault. If the cart has range or power problems, it helps to know whether batteries are the whole story. On every visit we include a free battery test, and for a conversion we also look over the cables, solenoid and connections.
Step 4: Choose the pack
With the usage and cart details in hand, the pack is chosen. Considerations include:
- Voltage matching the cart’s system.
- Capacity in amp hours, sized to how far you drive.
- Continuous and peak current ratings, so the BMS can handle acceleration and hill climbing without shutting down.
- Physical size, so the pack fits the battery compartment with room for secure mounting.
- Features such as a state-of-charge display or Bluetooth monitoring.
We go into sizing in lithium amp hours and sizing.
Step 5: Remove the lead-acid pack
The old batteries are disconnected and removed. Lead-acid golf cart batteries are heavy, and the compartment often has years of acid residue and corrosion underneath. The old batteries are taken away for recycling.
Step 6: Clean and inspect the compartment
With the batteries out, the battery tray and frame can be seen clearly. Acid can rust trays and frame rails over time. This is the moment to clean, neutralize residue and check for damage. Surface rust can be cleaned and treated; a tray that is badly corroded or cracked should be repaired before a new battery goes in.
Step 7: Mount the lithium pack securely
A lithium pack is much lighter and often smaller than the lead-acid set, which means the old hold-downs will not fit. The pack needs to be held firmly so it cannot shift under braking, acceleration or bumps. Conversion kits usually include brackets or spacers designed for specific cart models. A loose battery is a damaged battery waiting to happen.
Step 8: Wire the main cables
The main positive and negative cables are connected to the pack, along with any communication cables between the BMS and display. Cable size and terminal connections must handle the cart’s current. Connections are tightened to spec and protected.
Step 9: Address the 12-volt accessories
On many carts, lights, horns and other 12-volt accessories were run from a pair of batteries in the lead-acid pack, or through a voltage reducer. With a single lithium pack, those accessories need a proper source, usually a voltage reducer or converter sized for the load. Tapping into part of a lithium pack is not an option. Our article on voltage reducers after a lithium conversion explains why.
Step 10: Match the charger
Lead-acid chargers often use charging stages and equalization that are not appropriate for lithium. The conversion includes either a lithium-specific charger or setting up a compatible charger with the correct lithium profile. This step matters as much as the battery itself.
Step 11: Set up the gauge or display
The cart’s original battery gauge is usually designed for lead-acid voltage behavior. LiFePO4 holds a flat voltage, so a lead-acid gauge can read full until the pack is nearly empty. Most conversions include a dedicated state-of-charge display, or a Bluetooth app. See lithium state-of-charge displays.
Step 12: Test drive and walkthrough
Finally, the cart is test driven to check acceleration, hill climbing, braking and charging. You should get a walkthrough of how to charge, how to read the display, and what to do if the BMS ever shuts the pack down to protect it.
What changes for you afterward
- No watering, no acid cleanup.
- A lighter cart that may feel quicker.
- Consistent power through most of the charge.
- A charger and display you will need to get used to.
- Storage habits that differ from lead-acid.
Frequently asked questions
Will lithium make my cart faster?
It can feel quicker off the line because of lower weight and steadier voltage, but top speed is largely set by the motor and controller.
Do I need to change the controller?
Not usually for a standard conversion, but it depends on the cart and the pack’s current rating. A technician should confirm.
How long does a conversion take?
It depends on the cart and the kit. Many conversions can be completed in a single visit at your home.
Lithium conversions in Spring Hill
If you are thinking about a conversion, our lithium battery upgrades service comes to you in Spring Hill and across Hernando County. We will look at how you use the cart, check it over, and talk through options alongside our standard golf cart battery service.
Related services
Related posts
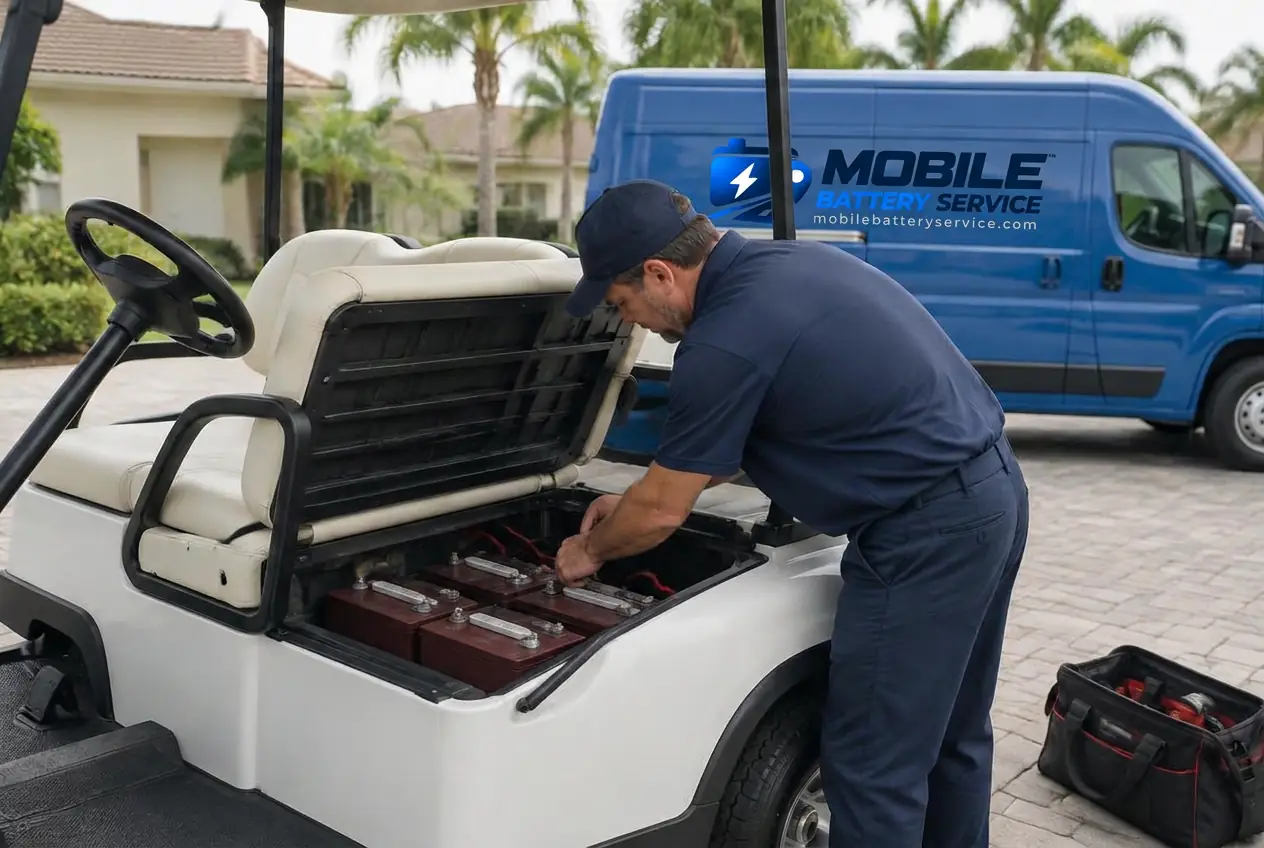
Lithium & LiFePO4 · Oct 28, 2026 · 5 min read
What Is a LiFePO4 Battery? A Plain-English Guide
LiFePO4 is the lithium chemistry behind most golf cart, RV, marine and solar upgrades. Here is what it is, how it compares to lead-acid, and when it makes…
Lithium & LiFePO4 · Oct 28, 2026 · 5 min read
What a Lithium Battery Management System (BMS) Actually Does
The BMS is the brain inside a lithium battery. Here is what it monitors, how it protects the cells, and why it occasionally cuts power on purpose.
Golf Cart Batteries · Oct 28, 2026 · 5 min read
Why Your Golf Cart Is Losing Range and How to Find the Cause
When a cart that used to run all day starts dying halfway through, the cause is usually one of a handful of things. Here is how to work…
Forklift & Warehouse Batteries · Oct 28, 2026 · 5 min read
Lithium vs. Lead-Acid Forklift Batteries: An Honest Comparison
Thinking about lithium for your forklifts? Here is how lithium and lead-acid compare on charging, maintenance, runtime, heat and planning, without the sales pitch.
Popular battery guides
- How Long Do Car Batteries Last in Florida?
- Golf Cart Batteries: Lithium vs. Lead-Acid
- Signs Your Car Battery Is Failing
- Forklift Battery Maintenance Checklist
- What to Do When Your Car Won’t Start
- AGM vs. Standard Car Batteries: Which Do You Need?
Where we work
We come to you across Hernando County, Pasco County, Pinellas County, and Hillsborough County. See all mobile battery services or read more about Mobile Battery Service.